

Chimera — guide (Clan Boss)
Guide: Chimera
In short
Chimera is a clan boss fight built around rotating phases, one per head — each with its own attacks and its own way of killing your team. It is not just a damage sponge: clearing it is about surviving the phase swaps without losing a key champion. The clan gets chests with gear and resources, which is why Chimera is farmed for equipment and clan progression.
Mechanics
- The boss cycles through its heads: a heavy burst phase, a buffs-and-healing phase, and a team-wide debuff phase.
- Burst phase — single-target hits, usually on the squishiest or marked champion. This is where glass-cannon damage dealers fold.
- Buff phase — the boss stacks buffs on itself and heals, dragging the fight out and wasting small chip damage.
- Debuff phase — poison, HP Burn and Heal Reduction across the team; without a cleanse the roster melts.
- The boss marks a champion, and its next big hit lands on that champion — track the mark.
- As with most clan bosses, its damage ramps up over time, so you cannot stall and win late.
What your team needs
Stat targets: 200+ SPD across the team, 230–250 on key supports; 200–250 ACC, closer to 300 on higher difficulties; supports want 40–50k HP or 3–4k DEF to eat the burst. Exact numbers depend on difficulty, but these are a working baseline.
- Decrease DEF and Weaken — the base for any damage.
- Poison and HP Burn — your main damage sources on the boss.
- Cleanse and Heal Reduction — against the debuff phase and the boss's healing.
- Block Buffs — to strip the boss's buffs.
- Block Damage, Unkillable, Counterattack and Ally Attack — for burst phases and extra procs.
Teams
- Budget: Deacon Armstrong, Fahrakin the Fat, Geomancer, Uugo, Kael. Why it works: speed and Decrease DEF, Ally Attack, HP Burn and poison — a cheap core with survivability and steady damage.
- Mid-game: Stag Knight, Geomancer, Fayne, Maneater, Anax. Why it works: heavy debuffs plus Maneater's Block Damage cover the burst phase.
- Endgame: Krisk the Ageless, Firrol The Barkhorn, Acrizia, Gnut, Elva Autumnborn. Why it works: maximum debuffs and max-HP damage, protected by Ally Protect, cleanse and heals.
Common mistakes
- Glass-cannon damage dealers with no cover — deleted on the burst phase.
- No cleanse — the debuff phase finishes the team.
- Too little Accuracy — debuffs miss and damage collapses.
- Ignoring Heal Reduction and Block Buffs when the boss heals and buffs itself.
Tips
- Run it manually first, then switch to auto once the rotation is stable.
- Masteries: boss-damage masteries on your damage dealers, defensive ones on supports.
- Sets: Lifesteal early, Speed and Accuracy as the baseline, Toxic on poisoners, Relentless for extra turns, Stoneskin on supports for the burst phase.
- Save Block Damage and Unkillable for the burst phase, not "just in case".
- Pre-shield or pre-heal the marked champion before the big hit.
Best champions
rated for: Chimera 5Acrizia
 5Cecilia The Red Hope
 5Firrol The Barkhorn
 5Glorious Pallas
 5Gnut
 5Klaazag Keyhulk
 5Krisk the Ageless
 5Lydia The Deathsiren
 5Marius the Gallant
 5Mavara The Web Diviner
 5Senna Amberheart
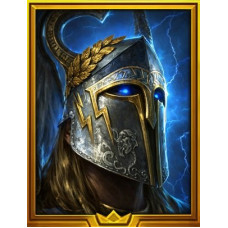 5Storm Herald Hekaton
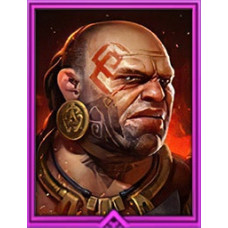 4.5Fahrakin the Fat
 4Geomancer
 4Whisper
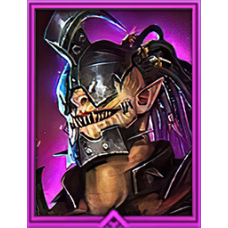 4Dhukk the Pierced
 4Fenax
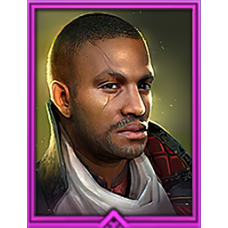 4Inquisitor Shamael
 4Ruella
 4Stag Knight
Ratings 0–5 for this content from our database. Full ranking: champion catalog sorted by content.
Reviews
Played this hero? Tell us where he saved you, — it will help other players.
Question — answer
No questions.
Video - Guide


